My tutorial... the happy skirt

Discover the tutorial for the Happy skirt, whose pattern is available in our shop here.
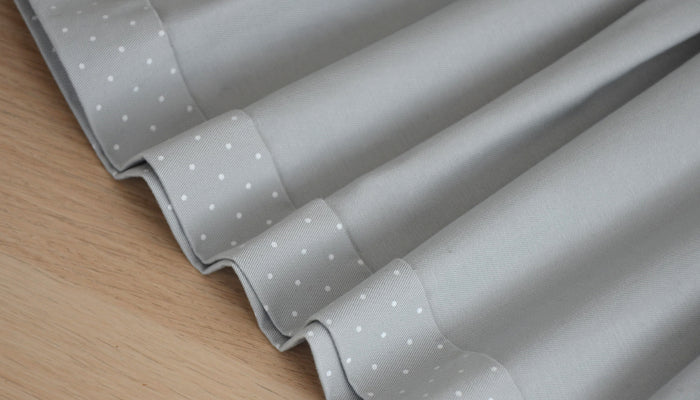
In the last two articles, we saw how to make the gathers and box pleats of the skirt, which corresponds to the first step in making our "Happy" 4-season skirt.
Here is the rest of the tutorial today...
In step 2, we will make the belt loops and attach them to the waistbands.
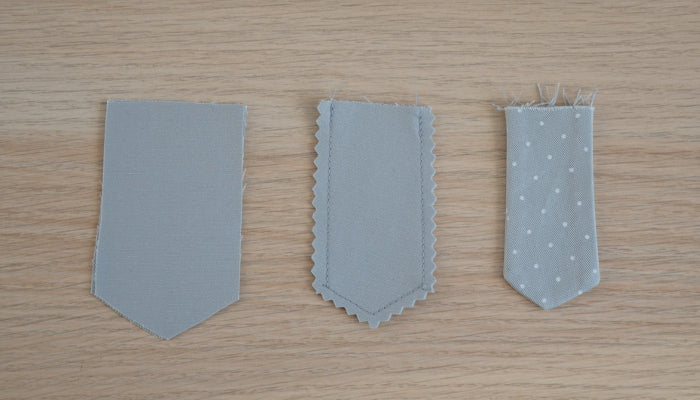
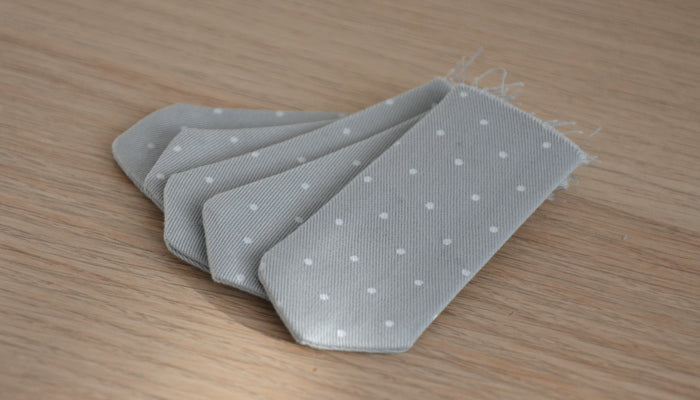
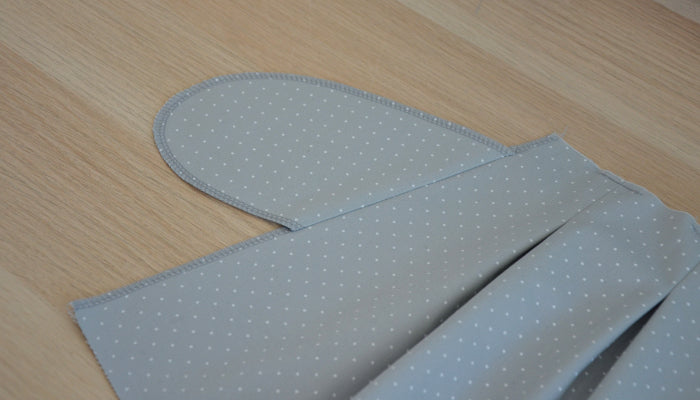
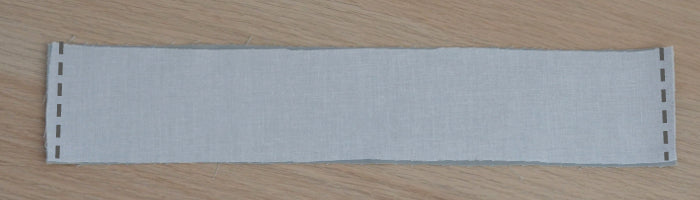
Assemble the belt loops, two by two, right sides together. Notch, turn right side out, and press.
You will thus obtain 5 belt loops.
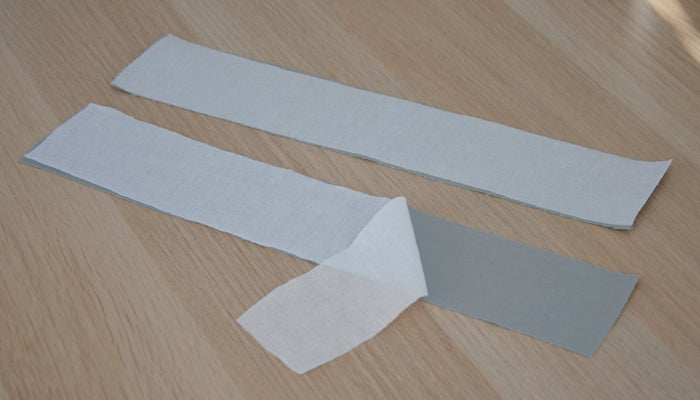
Attach the interfacing to the front and back waistbands, as well as their linings.
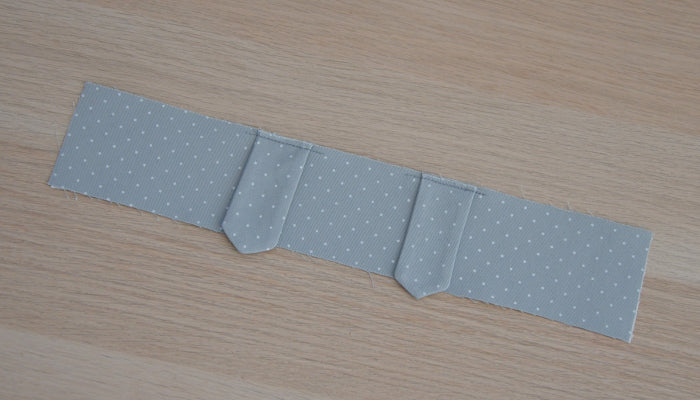
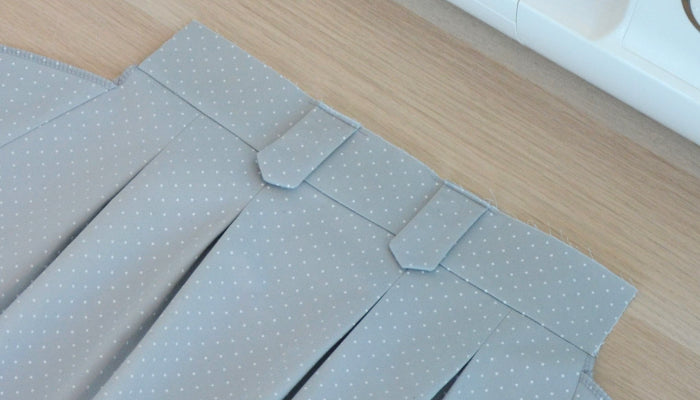
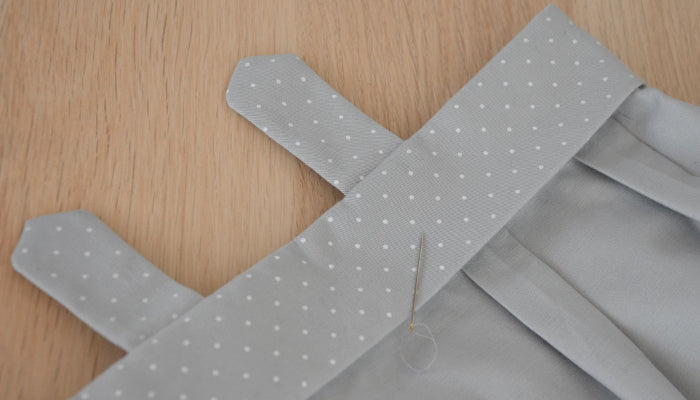
Position the belt loops at points P indicated on the pattern.
Secure them with a stitch 5 mm from the top edge of the front and back waistbands.
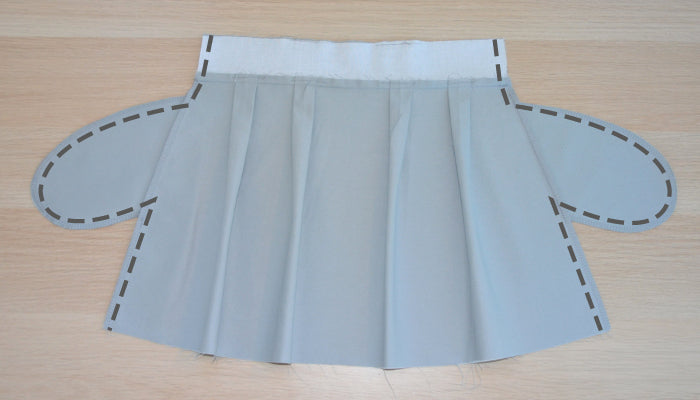
In step 3, we move on to the pockets.
Position the pockets (pieces #5) at points X indicated on the front and back skirts.
The right side of the pockets is placed against the right side of the skirt.
Attach the pockets with a seam 5 mm from the edge.

Press, directing the pockets outwards.
In step 4, we will prepare the waistband lining (and the adjustable waistband).
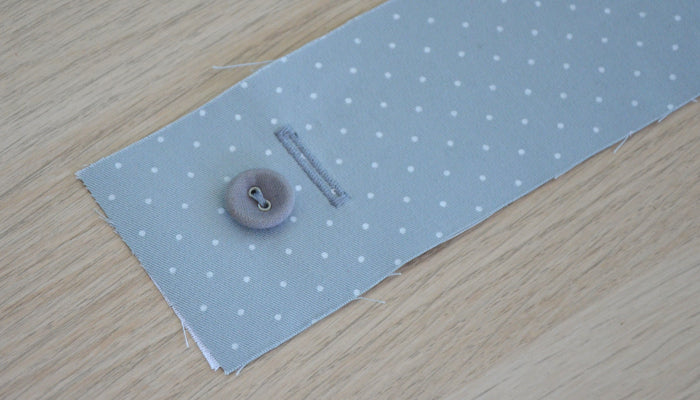
Sew a 3 cm buttonhole on each side of the back waistband lining, at the locations indicated on the pattern.
Sew a button on each side of the back waistband lining, at the crosses indicated on the pattern.
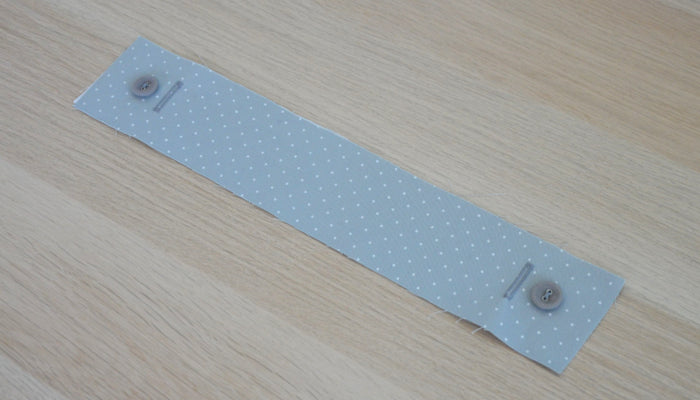
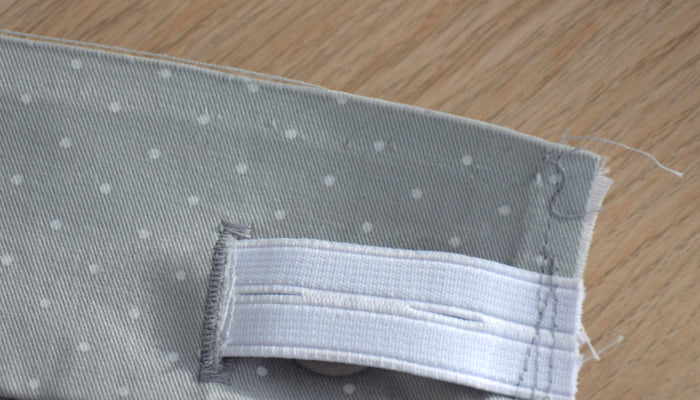
Slide the adjustable waistband into the buttonholes, passing it from the right side to the wrong side and then bringing it out on the other side. The adjustable waistband is therefore only visible on the right side of the waistband lining at both ends.
Secure the adjustable waistband at each end by sewing several back-and-forth stitches.
Assemble the back waistband lining and the front waistband lining right sides together at the side seams. Press, spreading the seams apart.
In step 5, we assemble the skirt.
Assemble the front waistband and the front skirt right sides together (be careful not to "catch" the belt loops in this seam).

Assemble the back waistband and the back skirt in the same way, right sides together.
Position the assembled front and back pieces right sides together, ensuring that the side seams align between the waistband and the skirt.
Also, make sure to pin the front and back pockets face to face.
Assemble each side from the top of the waistband to the bottom of the skirt.
Press, spreading the seams apart.
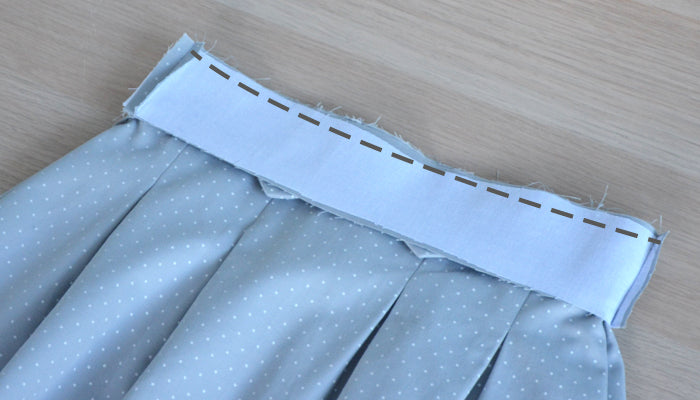
Position the waistband lining on the skirt waistband, right sides together. The belt loops are "caught" between the two waistbands.
Assemble the waistbands together all around the waist.
Press a 1 cm fold towards the inside at the bottom of the waistband lining.

Tuck the waistband lining inwards and press.
Secure the bottom of the inner waistband with small hand-stitched slip stitches.
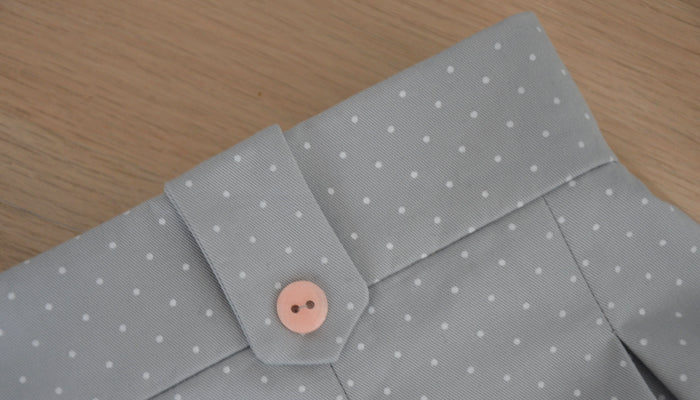
Sew a button on each belt loop, attaching it to the bottom of the waistband.
Step 6... almost the end with the hem stitching.
Press a first 1 cm fold at the bottom of the skirt.
Press a second 3 cm fold and secure it with small, invisible hand-stitched stitches.
Before securing the hem, I recommend trying on the skirt to adjust it to the desired length.
And there's our finished skirt...
I hope these photo explanations help you visualize the skirt assembly more easily. I will very soon share photos of the skirt being worn (I don't know when yet because it's for my 2-year-old mannequin... who is less cooperative for photos than her older sisters!)
Have a good weekend,
Lydie
1 comment
très joli modèle pour des" petites filles sages"…. enfin pas toujours" J’ai cousu ce modèle en taille 6 ans en coton bleu marine imprimé pois blanc. Un grand classique mais intemporel…. Je dois maintenant faire 3 autres jupes pour ma tribu de petites filles.
Explications claires, simples …
Encore un bon moment de couture.