My tutorial... the inverted box pleats
Find out how to sew inverted box pleats...
Here is the next part of the tutorial for our "Happy" 4-season skirt. If you've chosen the inverted box pleat version, this tutorial should help. To form the pleats, I recommend doing them one by one:
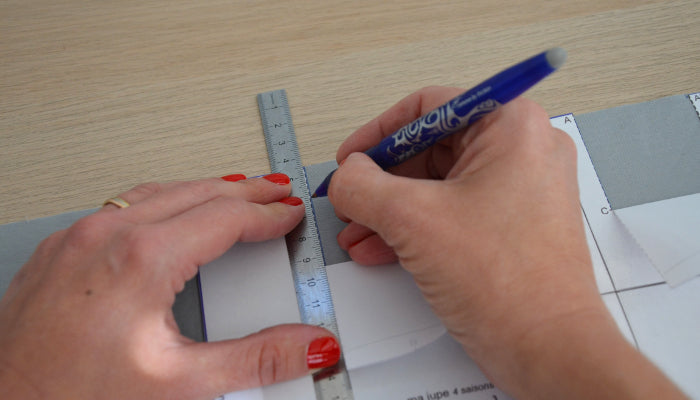
start by cutting out lines A-C and A'-C' from the paper pattern (you cut the pattern, not the fabric!), this will make it easier to draw the lines on the fabric.

Draw lines A-C and mark points A' and C' on the wrong side of the fabric.
I'll reiterate what I mentioned in the previous tutorial (the gathers): I advise you to mark the fabric with chalk or an erasable pen: Pilot Frixion pens are great for this because they disappear when ironed (but check first that the pen comes off well on the fabric you've chosen, there can be unpleasant surprises!)

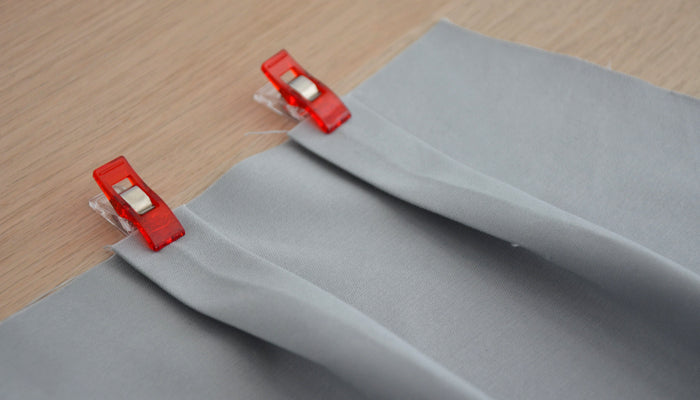
Fold the fabric, right sides together, matching lines A-C and A'-C'.
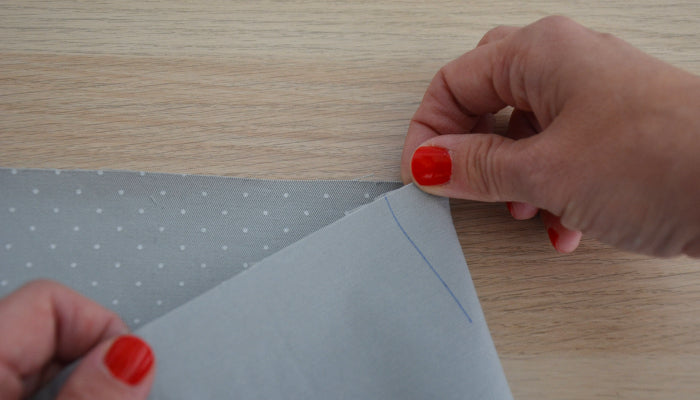
Secure the pleat with pins and press to mark the crease.

Stitch along height A-C, remembering to backstitch at point C to reinforce the seam.
Proceed this way for each pleat.
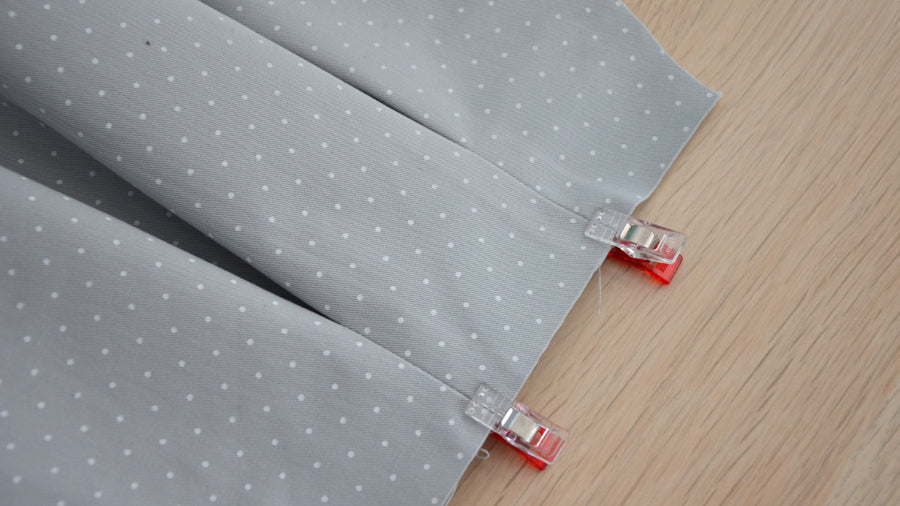
Flatten the pleats so that lines A-C are at points B. Press.
Secure the pleats with a seam 5 mm from the edge.
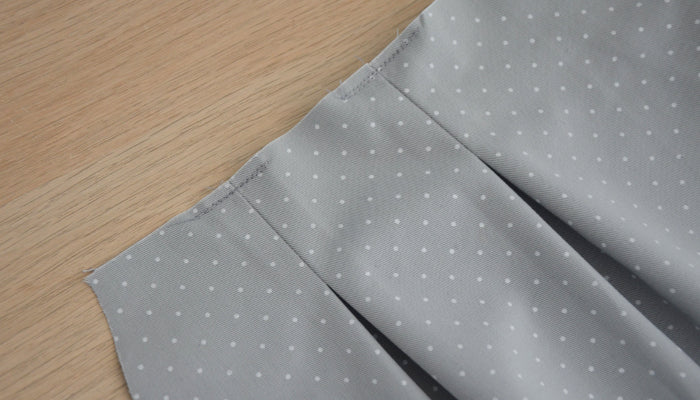
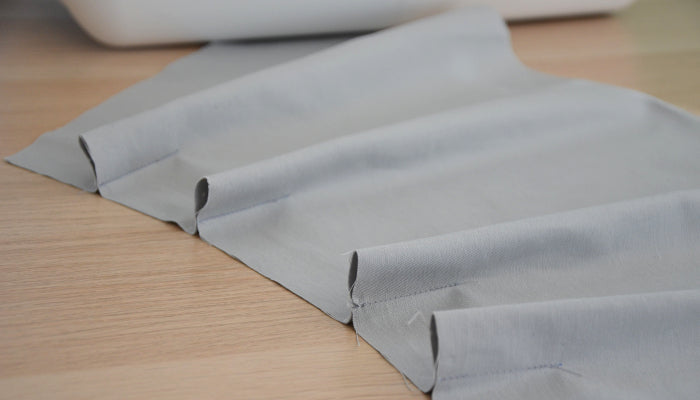
Here are the completed pleats! As you can see, if you follow the steps one by one, it's really not complicated...
See you tomorrow for the full "happy" skirt tutorial!
Lydie
6 comments
Très bon tuto… Très bien expliqué… Je voudrais juponner un tabouret et je me demandais comment procéder. A présent, je vais pouvoir me lancer. Merci.